
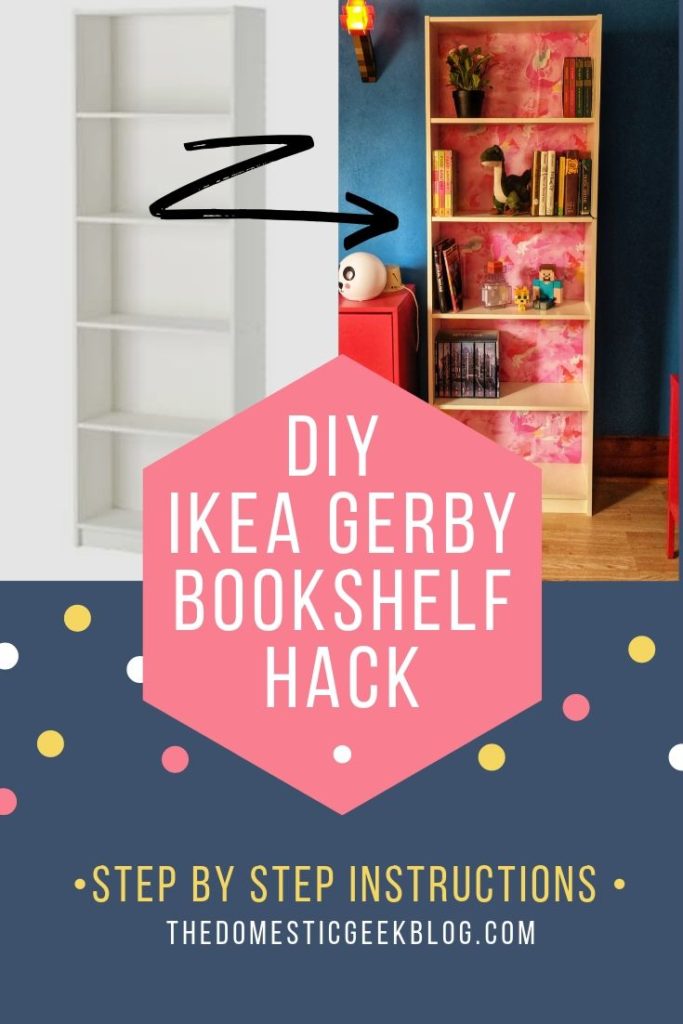
Last week we featured Aliceana’s Avenger’s themed bedroom makeover, today we’re sharing our DIY IKEA GERBY Bookshelf Hack. Before Aliceana even knew we were surprising her with a ridiculously awesome bedroom she kept saying how much she wanted a nice bookshelf for all of her books. Our project was getting expensive fast and I didn’t really want to splurge on an expensive bookshelf.
So I checked IKEA and found the GERBY bookshelf for $30, if you on’t have a local IKEA you can find a similar shelf on (affiliate link)
Amazon here
I let Aliceana choose which wrapping paper she wanted. We went to Target and they had such awesome options, but she wanted this paint brush pattern that would tie in the red objects in her room and add another pop of color, and show just how artistic she is. How can you say no to that reasoning?
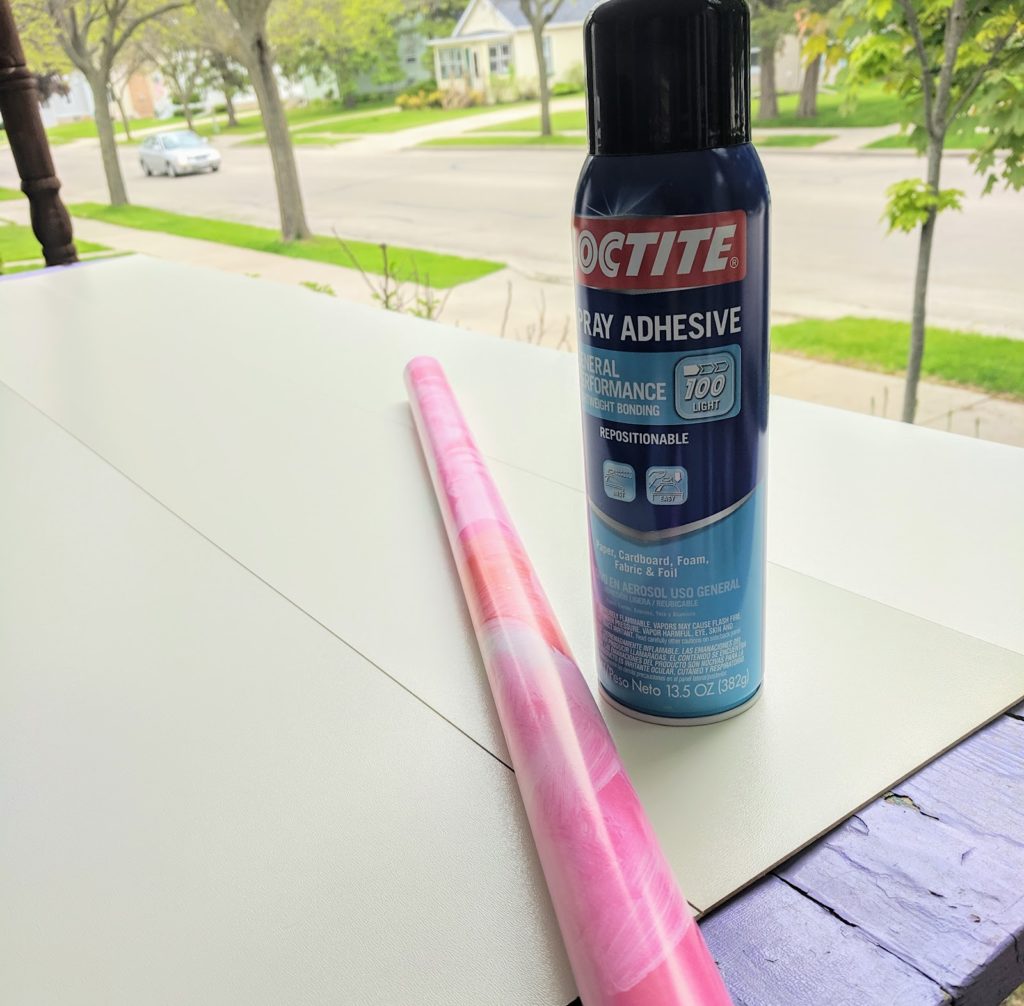
Then we quickly ran to our local hardware store and bought some really (affiliate link) lightweight Loctite spray adhesive
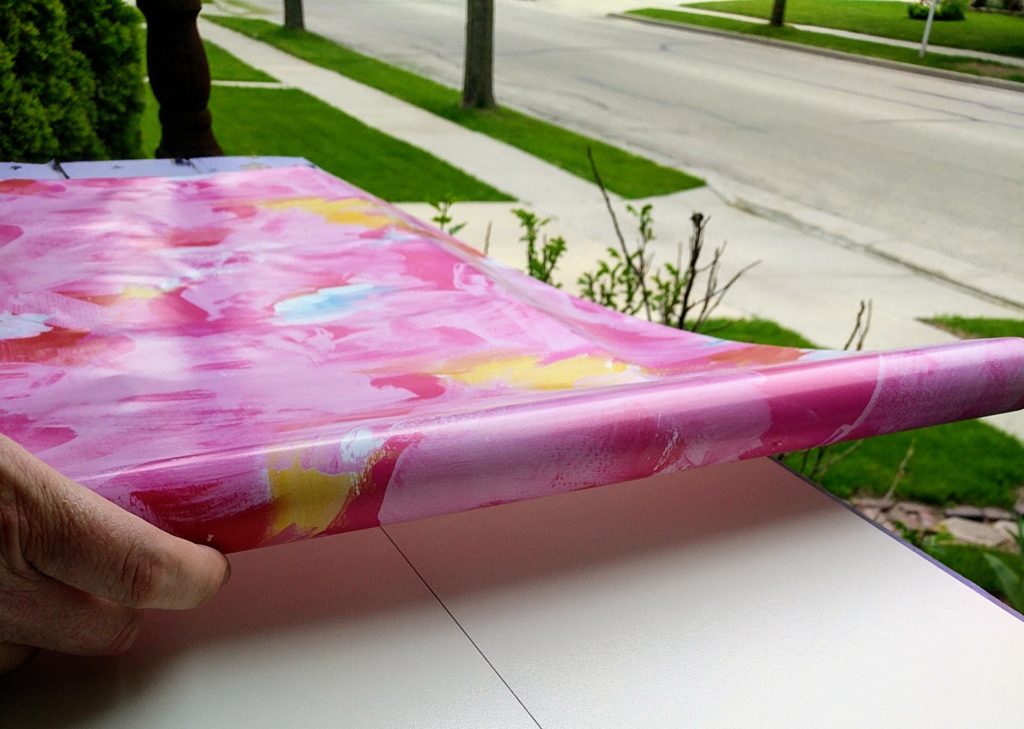
Next up, we sprayed the adhesive spray along the first few inches of the cardboard backing, and very carefully started rolling out the wrapping paper. This was extremely thin wrapping paper so we had to work carefully not to get any folds or bubbles. Then you get to the end and very carefully cut the excess of the roll with scissors. Don’t worry about the overhang yet.
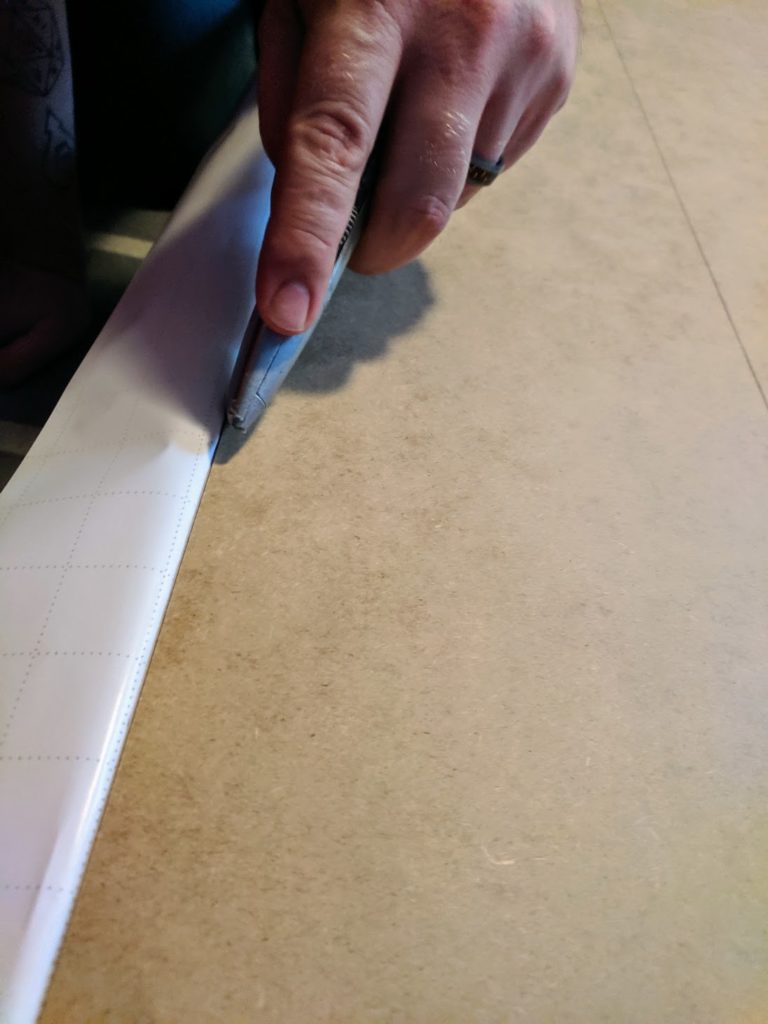
We let it dry for about 20 minutes while we assembled the rest of the bookshelf up to the point of putting the backing on. Then we nailed the backing on, while leaving the excess wallpaper hang over. This was the best way to make sure the wrapping paper was secure and the easiest way to cut the excess.
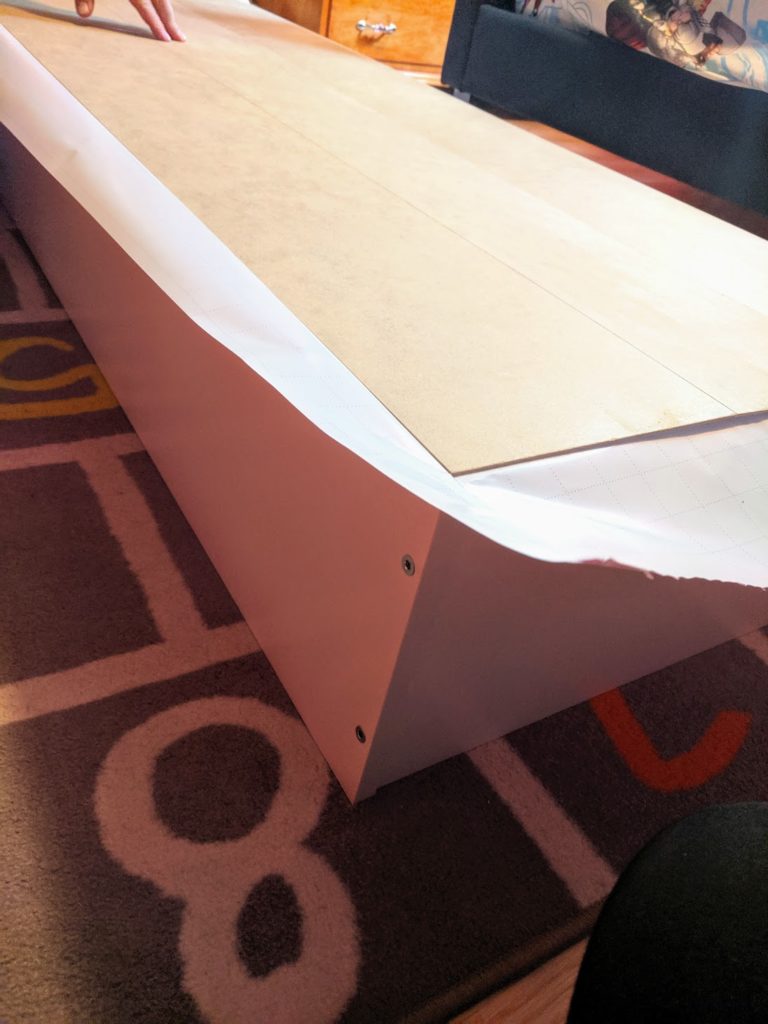
Once it’s nailed down, use an extremely sharp utility knife (we made sure we had a brand new blade) and carefully cut the excess. It should just fall off, make sure not to tug until it’s ready to fall off or you might rip the glued on wrapping paper and wreck your project.
Next stand it up, and it should look like this.
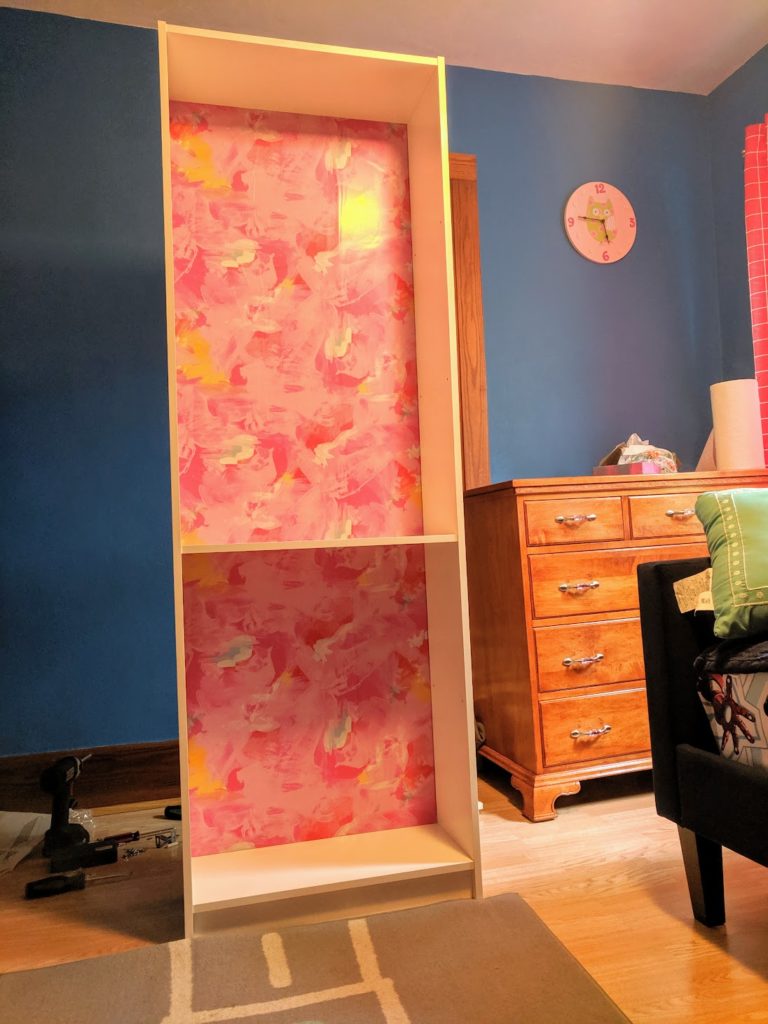
Install the rest of the shelves according to the instructions.
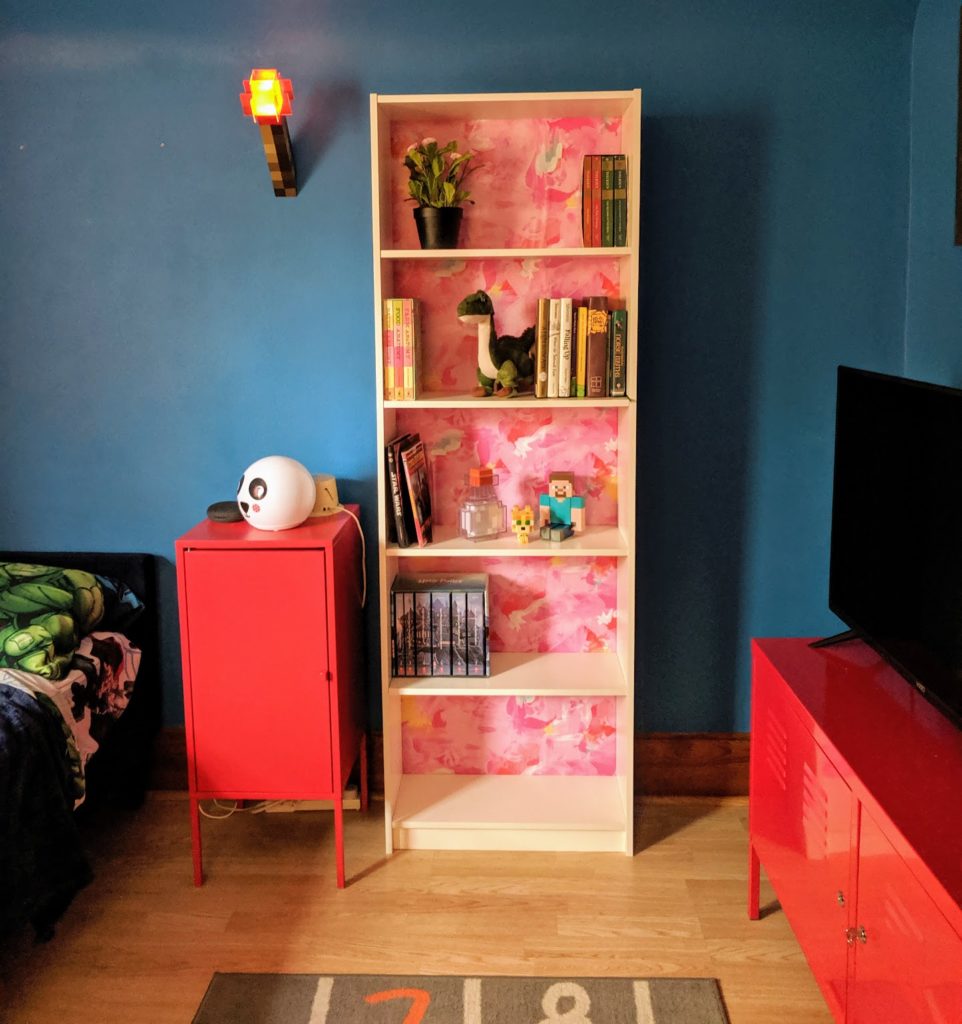
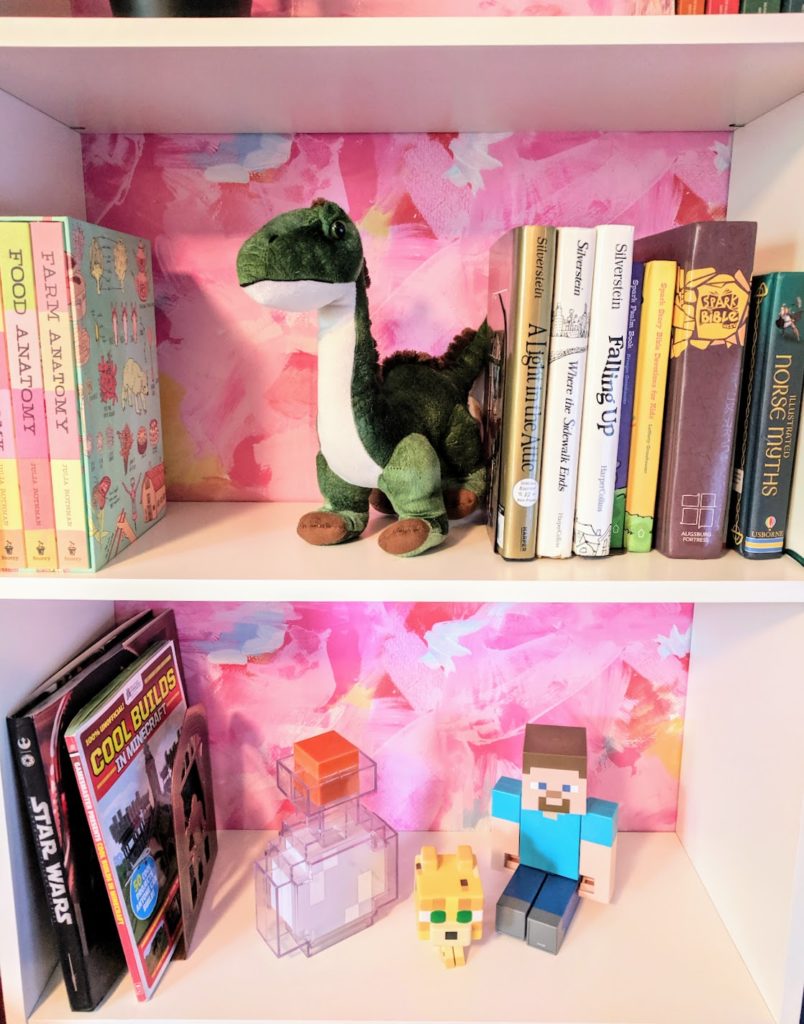
I was super proud of Aliceana’s wrapping paper choice, it looks fantastic with her room and so cute when she styled it herself with some of her favorite books and toys. I’m sure this will become a lot more fuller in no time. How cute is that dinosaur against that pink background?
Want to save this idea for later? Make sure to hover over the photos and pin these to your Pinterest board!

Written by, Brittany, the geek behind the blog. Sharing tips and stories from the trenches on navigating life homeschooling and homesteading as a stay at home mom.